The broil setting on your oven is a culinary superpower. It uses intense, direct heat from above to quickly sear, brown, and caramelize your food, delivering delicious results in a fraction of the time. But let’s be honest, it can also be a bit intimidating. One wrong move, and you’re staring at a charcoal briquette instead of a perfectly golden chicken breast. Fear not! This guide will transform you into a broiling pro, ensuring delicious, perfectly cooked meals every time.
What Exactly IS Broiling?
Think of your oven’s broiler as an upside-down grill. The heating element, usually at the very top of your oven, radiates intense heat directly downwards. This high-heat environment is fantastic for quick cooking, achieving that coveted crispy exterior, and adding beautiful browning to a wide range of foods.
Getting Started: Essential Prep Work
Before you even think about turning on the broiler, there are a few crucial steps:
- Position Your Rack Correctly: This is arguably the most important step! Most ovens have adjustable rack positions. For most foods, you’ll want the rack about 3-6 inches away from the broiler element. If your food is too close, it will burn. Too far, and it won’t brown effectively. Experiment with your oven – start a little further away if you’re unsure.
- Use the Right Pan: Opt for a sturdy, oven-safe baking sheet or broiling pan. A dark metal pan will absorb more heat and promote browning. Avoid glass or ceramic pans as they can crack under the intense heat.
- Don’t Overcrowd: Give your food space! Overcrowding will steam the food instead of broiling it, preventing that delicious crispiness. Cook in batches if necessary.
- Pat Your Food Dry: Moisture is the enemy of browning. Pat your proteins (chicken, fish, steak) and vegetables thoroughly dry with paper towels before seasoning and placing them under the broiler.
The Broiling Process: What to Expect
Broiling is FAST. We’re talking minutes, not hours. Here’s how to navigate it:
- Preheat Your Broiler: Just like baking, preheating is key. Turn your broiler on to the high setting and let it heat up for at least 5-10 minutes. You should see the element glowing red hot.
- Watch Like a Hawk: This is not a ‘set it and forget it’ cooking method. Broiling requires constant vigilance. Food can go from perfectly cooked to burnt in seconds. Stay in the kitchen and monitor your food closely.
- Flip (When Necessary): Most foods benefit from flipping halfway through the cooking time to ensure even browning on both sides. Use tongs or a spatula for safe handling.
- Check for Doneness: Use an instant-read thermometer to ensure your food is cooked through to a safe internal temperature. For fish, look for opaque flakes; for chicken, ensure no pink remains.
What Can You Broil? The Possibilities Are Endless!
Broiling isn’t just for steaks. Consider these delicious options:
- Meats: Thin cuts of steak, pork chops, lamb chops, chicken breasts or thighs (boneless and skinless cook fastest), and bacon are all excellent candidates for broiling.
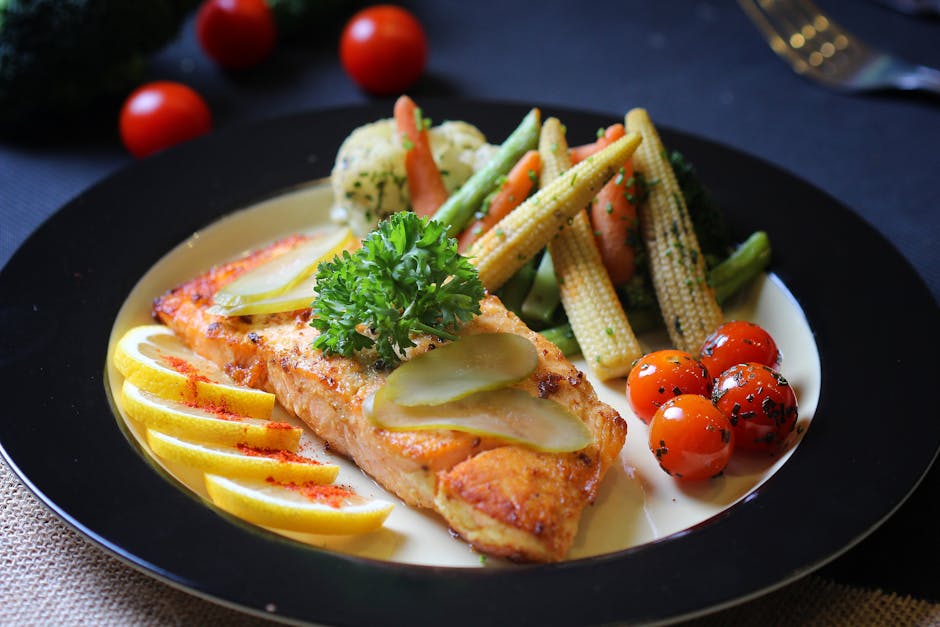
- Seafood: Fish fillets (salmon, cod, tilapia), shrimp, and scallops broil beautifully, developing a lovely crust.
- Vegetables: Asparagus, bell peppers, zucchini, broccoli florets, and cherry tomatoes caramelize wonderfully under the broiler. Toss them with a little olive oil, salt, and pepper before broiling.
- Cheesy Toppings: Imagine perfectly melted, bubbling cheese on French onion soup or garlic bread – the broiler is your best friend for this!
Common Broiling Pitfalls and How to Avoid Them
- The Smoke Alarm Siren: Usually caused by fat dripping onto the hot element. Ensure your drip pan is clean, and for very fatty meats, consider a slightly higher rack position.
- Uneven Cooking: This often happens if the rack isn’t positioned correctly or if the food is overcrowded.
- Burnt Edges, Raw Center: This is a sign your food is too close to the broiler element. Lower the rack or reduce the cooking time.
With a little practice and attention, the broil setting will become one of your go-to cooking methods. Enjoy the speed, the flavor, and that irresistible golden-brown finish!

