

Ever stared at your oven’s broil setting with a mix of intrigue and trepidation? You’re not alone! Broiling can seem like a high-stakes culinary gamble, promising that coveted caramelized crust and perfectly cooked interior, but also hinting at the possibility of blackened, inedible disasters. Fear not, aspiring broilers! This guide will equip you with the knowledge to conquer your oven’s broiler, transforming it into your secret weapon for delicious, perfectly cooked meals.
What Exactly IS Broiling?
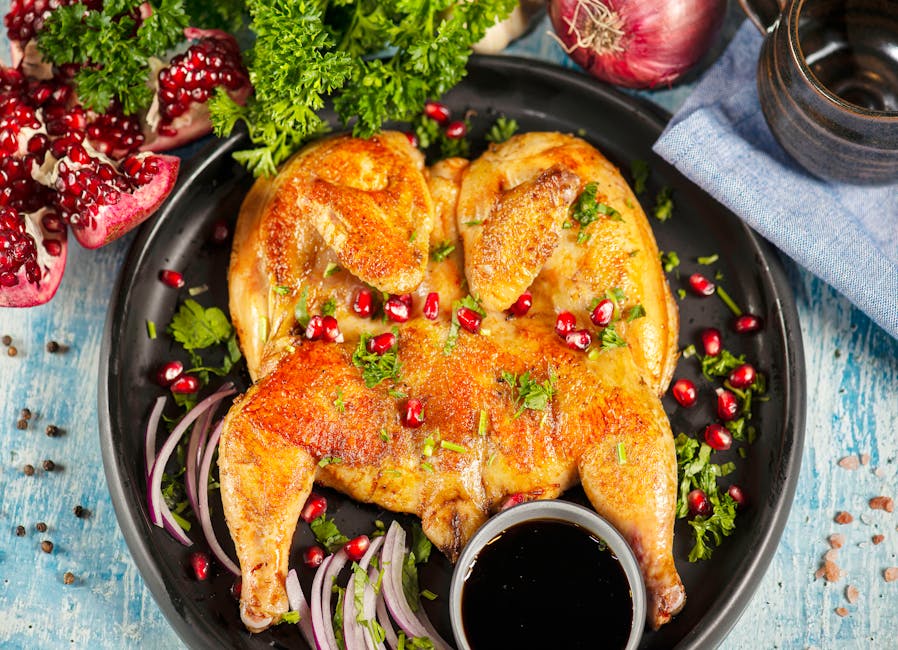
Think of broiling as upside-down grilling. Instead of heat coming from below, your oven’s broiler element, located at the very top, radiates intense, direct heat. This high-heat, short-duration cooking method is fantastic for searing, browning, and achieving that desirable crispy texture on a variety of foods.
Prep is Paramount: Setting Yourself Up for Success
Before you even think about flipping that switch, a little preparation goes a long way:
- Rack Placement is Key: This is arguably the MOST crucial step. For most foods, you’ll want to position your oven rack about 3-6 inches away from the broiler element. Too close, and you risk burning. Too far, and you won’t get the desired browning. Start with a middle-to-upper rack position and adjust as needed.
- Use the Right Pan: A sturdy, oven-safe broiler pan (often included with ovens) is ideal. If you don’t have one, a heavy-duty baking sheet lined with aluminum foil or parchment paper (ensure it’s heat-resistant) will work. Avoid glass or ceramic pans, as they can crack under the intense heat.
- Pat Everything Dry: Moisture is the enemy of crispiness. Thoroughly patting your proteins (chicken, fish, steak) and vegetables dry with paper towels before broiling will ensure a better sear and prevent steaming.
The Broiling Process: Step-by-Step
- Preheat Your Broiler: Turn your broiler to the HIGH setting. Allow it to preheat for at least 5-10 minutes. This ensures the element is screaming hot when your food goes in.
- Arrange Your Food: Place your prepared food in a single layer on the broiler pan or baking sheet. Don’t overcrowd the pan, as this will impede even cooking and browning.
- Keep a Close Eye: This is where the “without ruining your food” part comes in. Broiling is FAST. We’re talking minutes, not hours. You need to be actively watching your food.
- Flip with Vigilance: Most foods will need to be flipped halfway through the cooking time to ensure even browning on both sides. Use tongs for safe handling.
- Know When It’s Done: Cooking times will vary wildly depending on the thickness and type of food. For proteins, use a meat thermometer to ensure they reach the correct internal temperature. For vegetables, look for tender-crisp and nicely charred edges.
Tips for Broiling Triumph:
- Start with Thinner Cuts: If you’re new to broiling, begin with thinner cuts of meat (like chicken breasts, fish fillets, or thin steaks) and vegetables like asparagus or bell peppers. These cook quickly and are more forgiving.
- Marinades and Glazes: Be mindful of marinades and glazes containing sugar, as they can burn very quickly under the broiler. Consider adding them in the last minute or two of cooking or brushing them on during the flip.
- Don’t Fear the “Smoke”: A little smoke is normal with broiling, especially when cooking fattier cuts of meat. However, if your kitchen is filling with acrid smoke, your heat is likely too high or your food is too close.
- Clean Up Immediately: Once your delicious creation is out of the oven, let the pan cool slightly, then tackle the cleanup. It’s much easier before burnt-on bits harden!
With these tips and a watchful eye, you’ll be broiling like a pro in no time, adding a touch of restaurant-quality char and flavor to your home-cooked meals. Happy broiling!